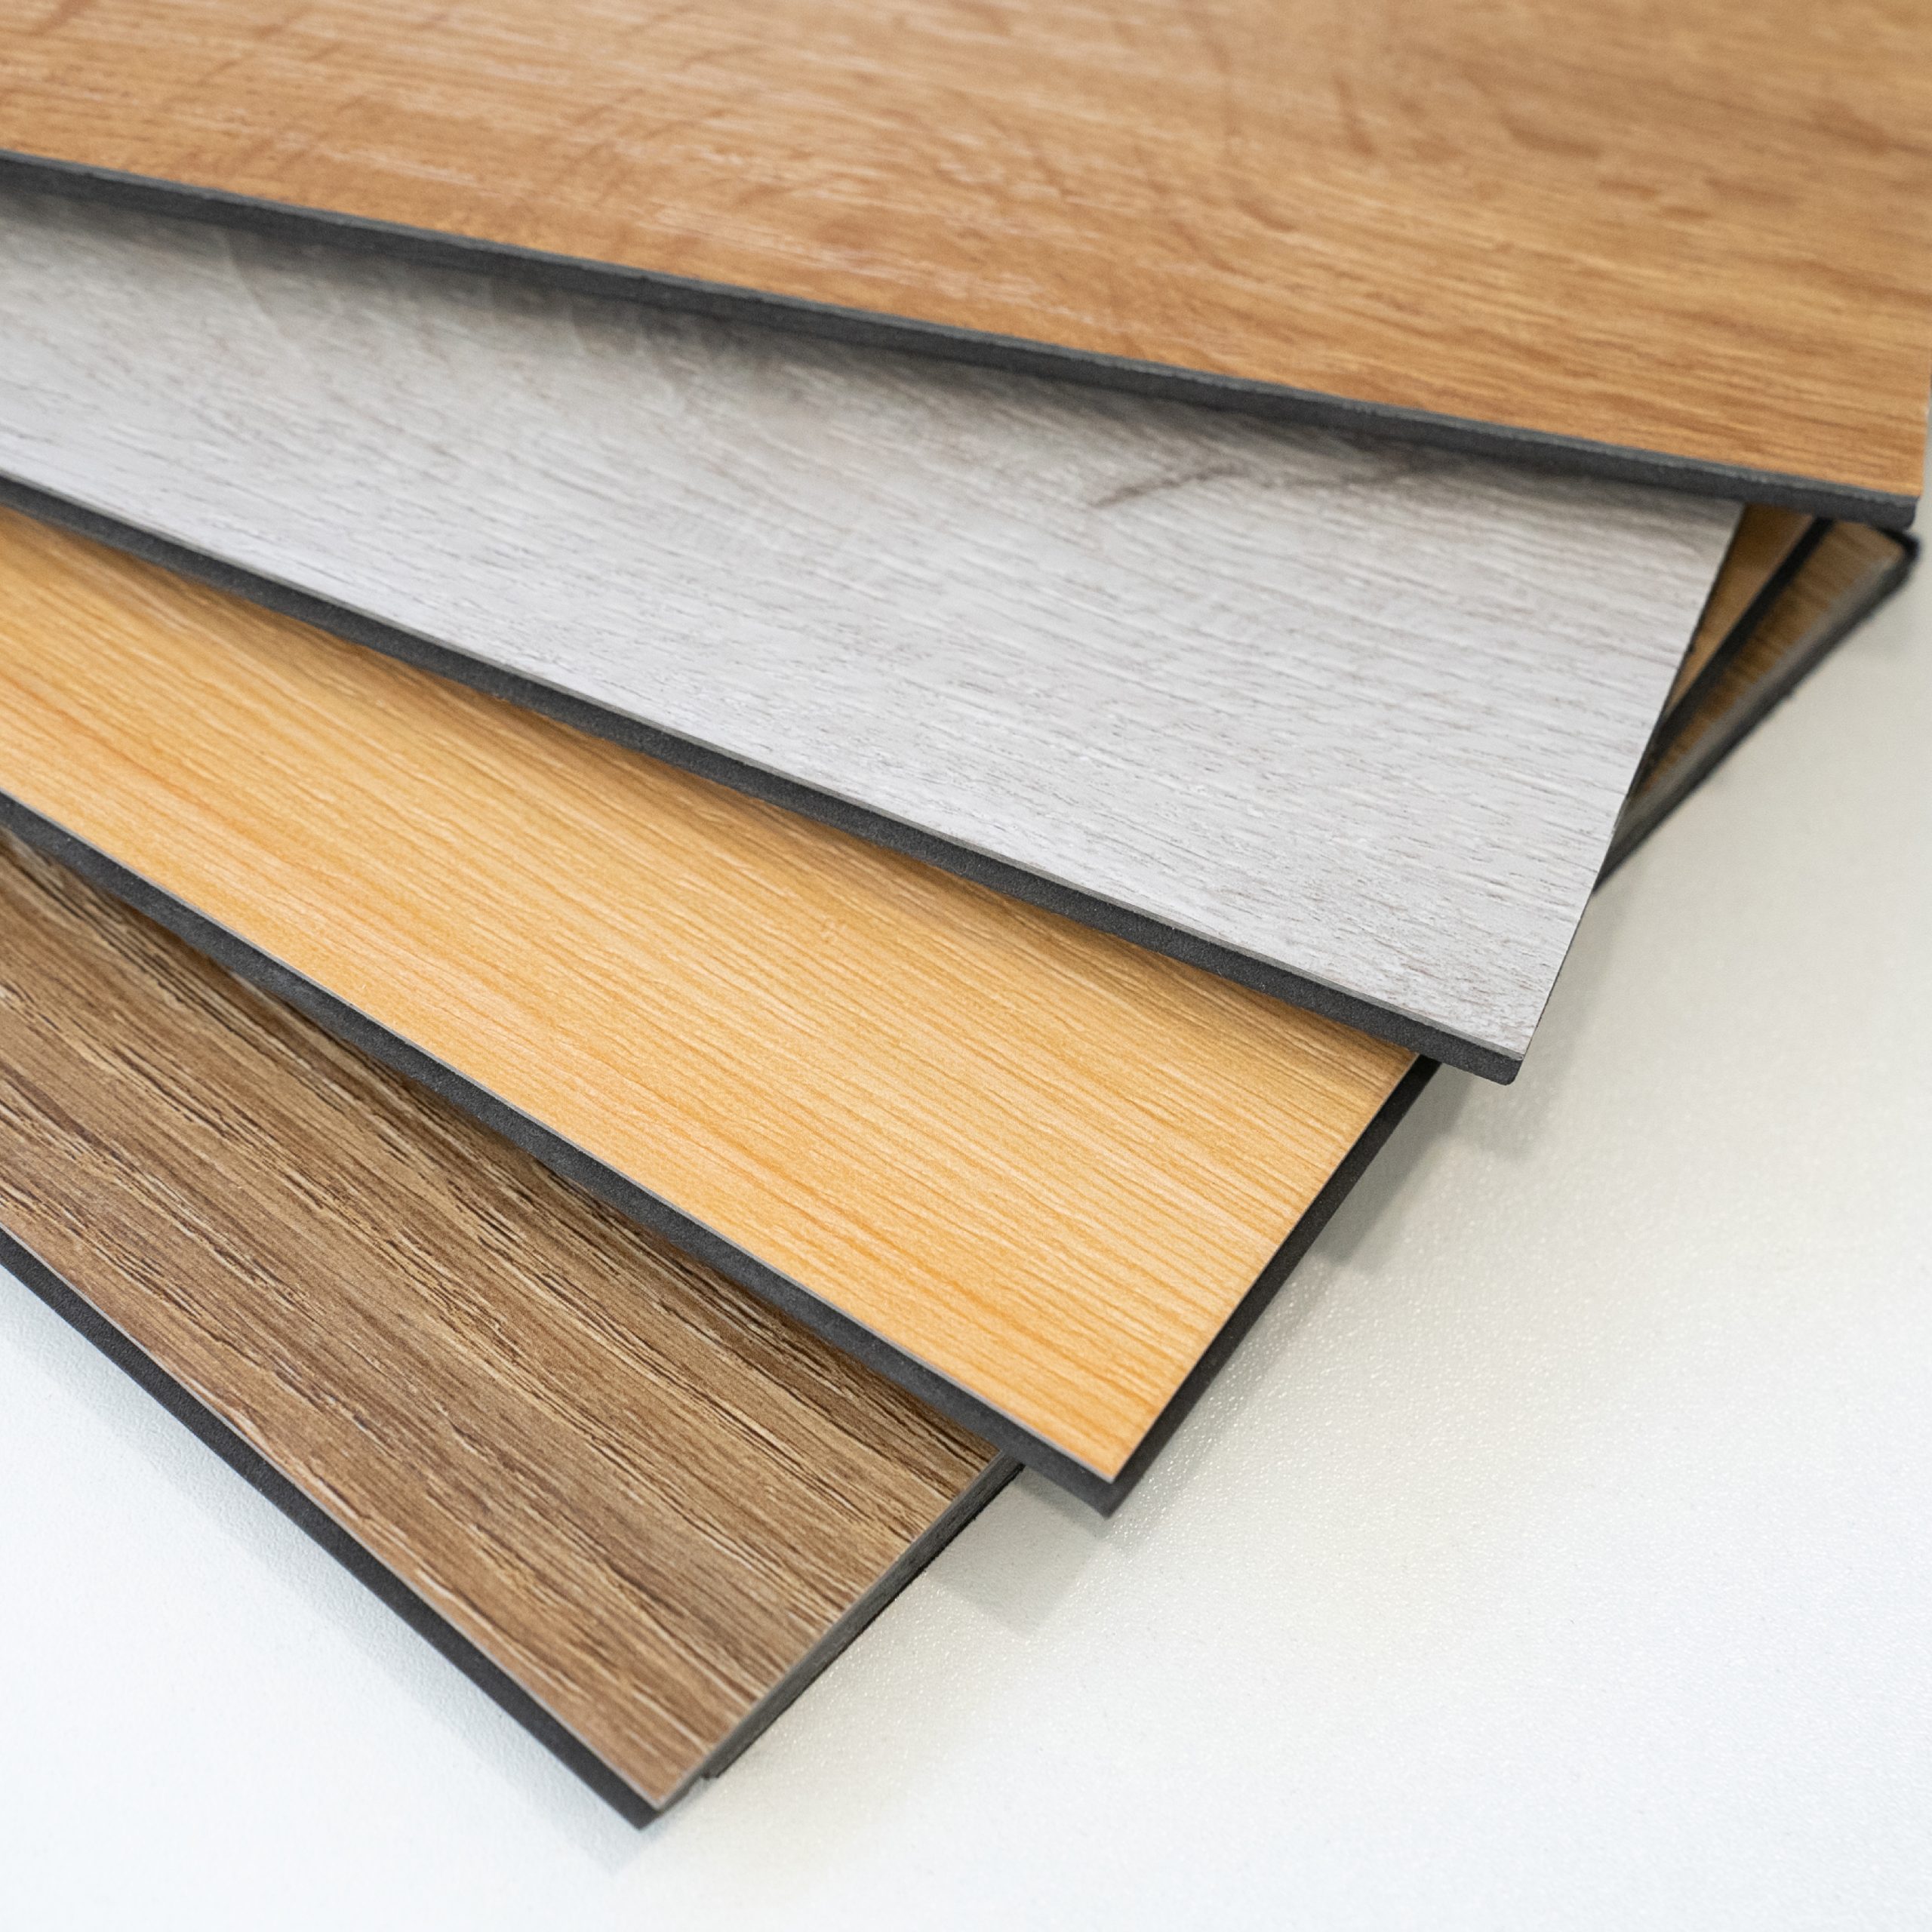
When considering installing vinyl flooring in your home or office, it’s crucial to follow a careful process to ensure a successful outcome.
In this guide, we’ll cover the necessary tools, pre-installation preparation, installation instructions, and maintenance tips step by step to help you get the most out of your new Trevo flooring.
Required Tools: Before beginning installation, make sure you have the following tools:
Tape measure
Saw
White-headed rubber mallet
Spacers
Pencil and square
Preparation and Important Information: Before beginning installation, it’s essential to follow some important preparation steps and considerations:
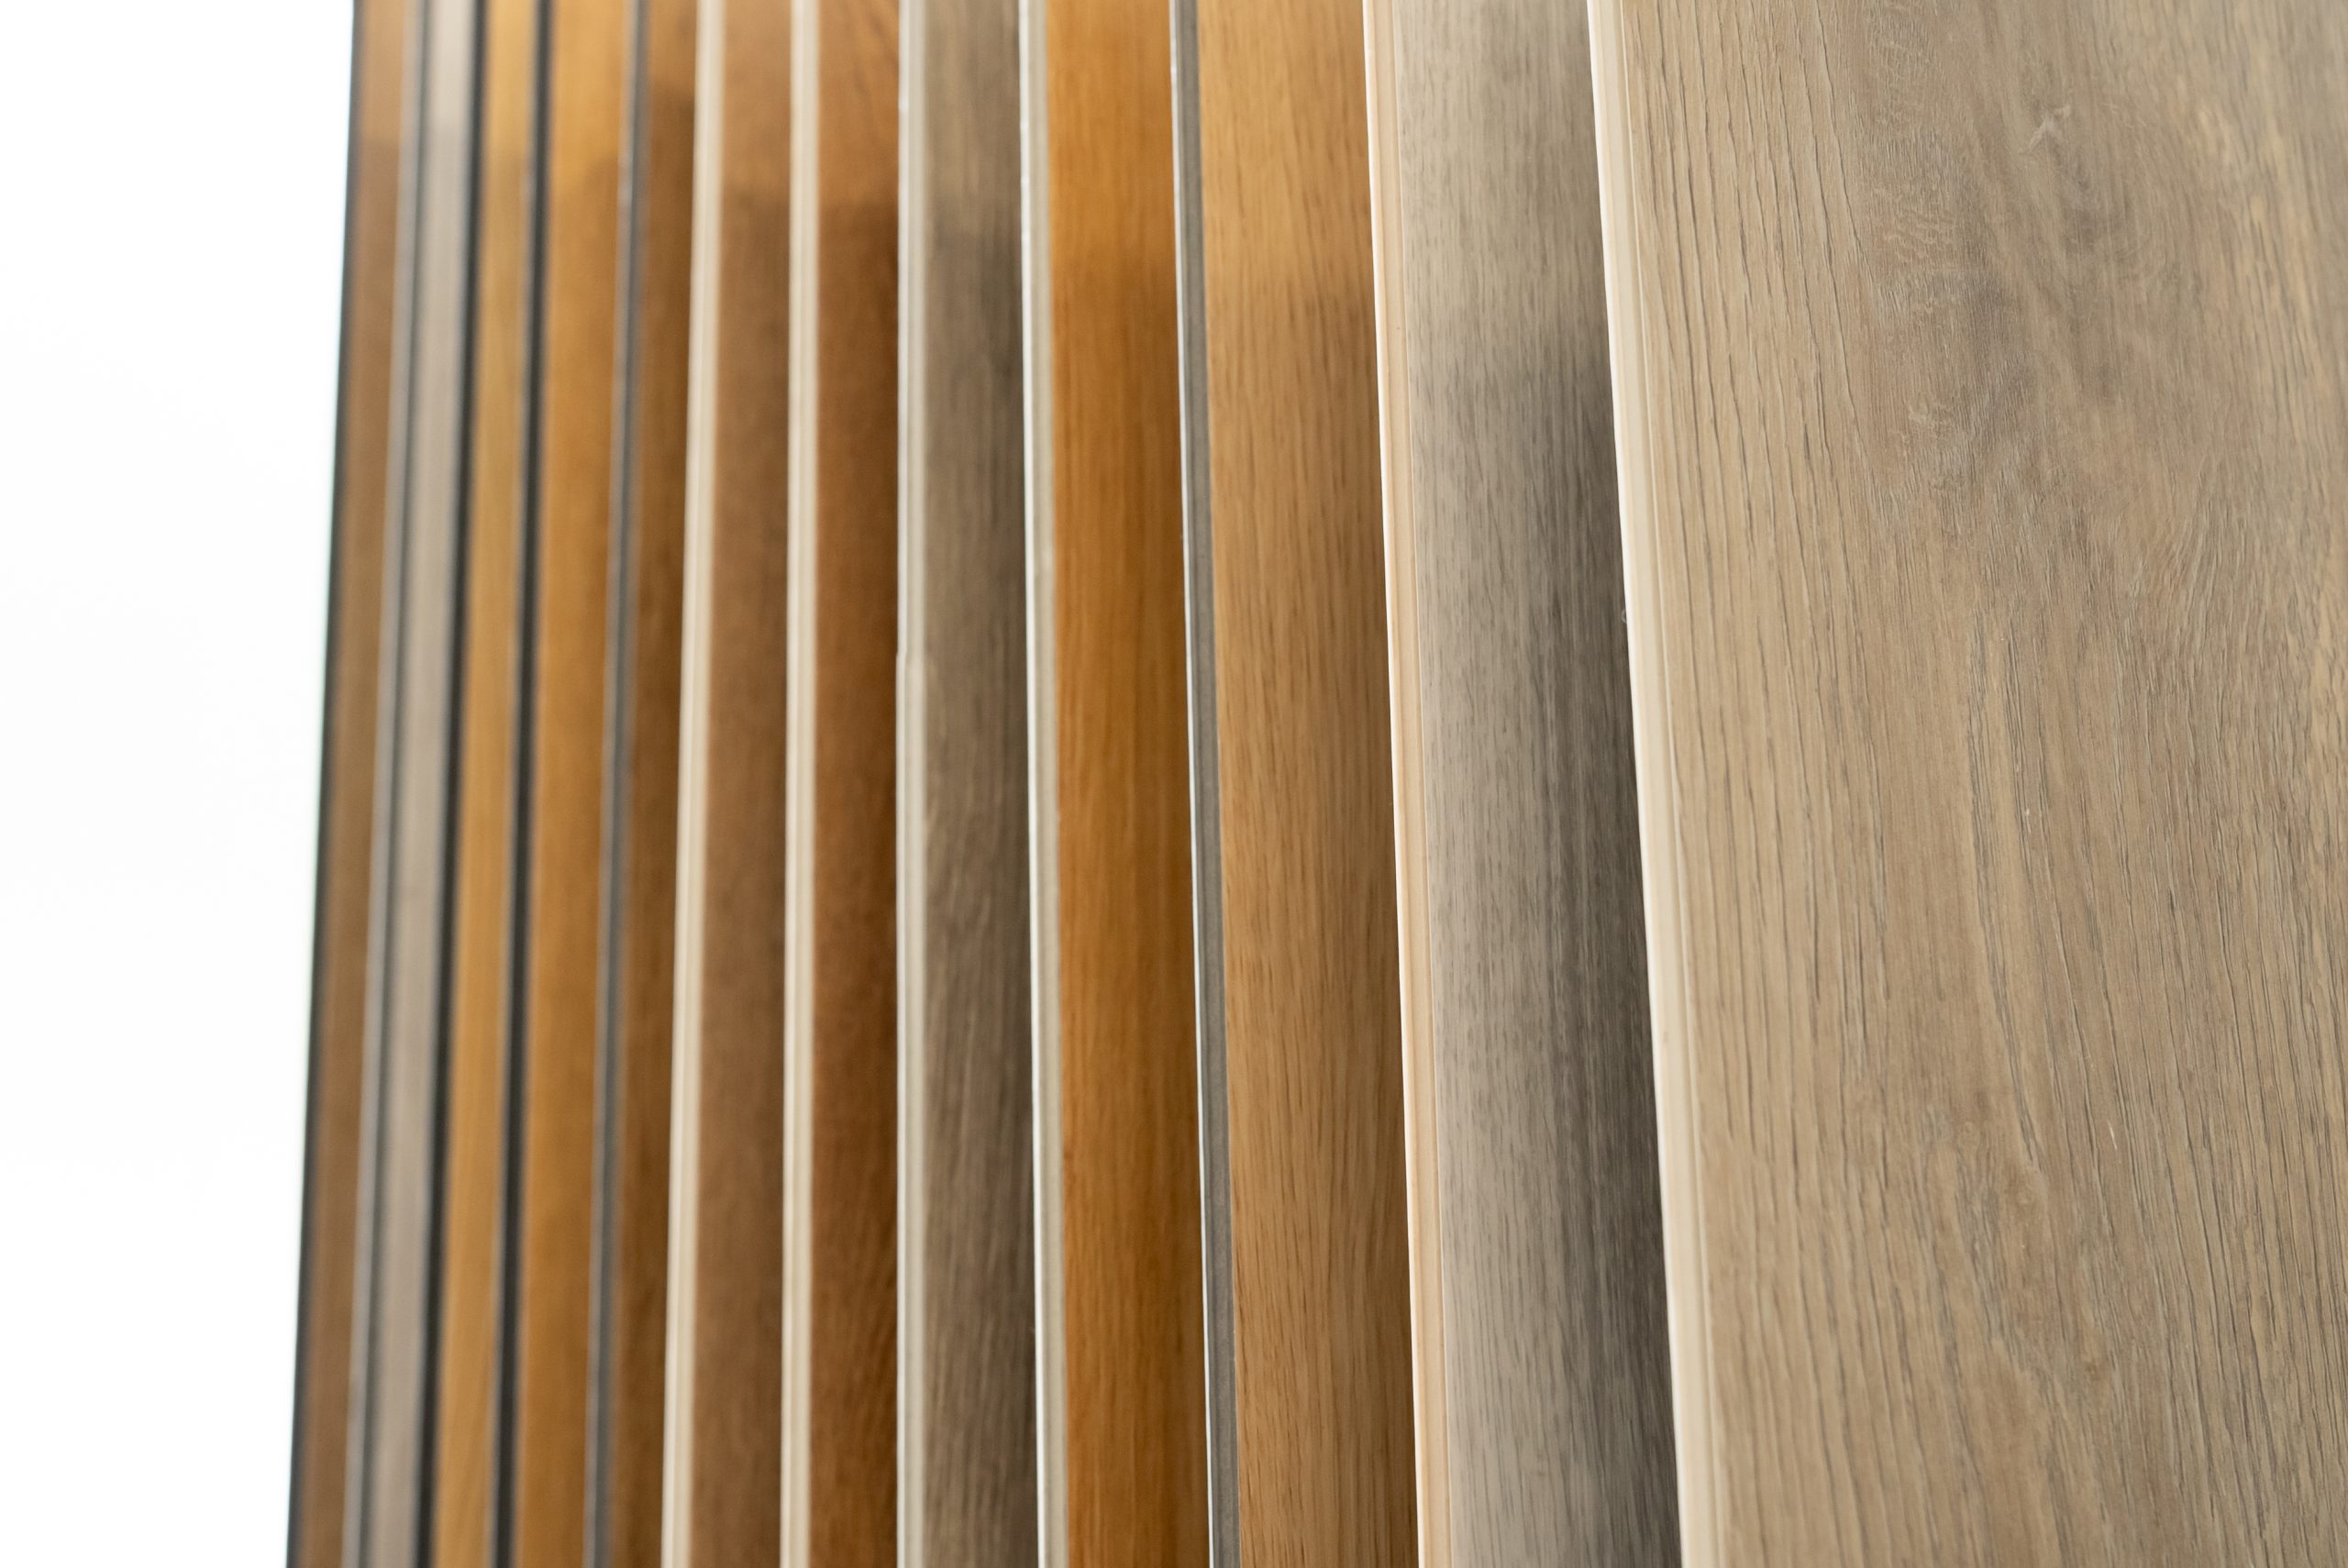
2.1 Material Inspection: Carefully inspect the condition of the vinyl flooring before installation. Color and pattern consistency is only guaranteed for materials from the same batch. Avoid mixing different batches.
2.2 Acclimatization: Allow the vinyl flooring to acclimatize horizontally in the environment where it will be installed for at least 24 hours before proceeding.imento.
2.3 Temperature Conditions: Vinyl flooring must be installed in a space with a temperature between 10°C and 25°C. Ensure that the subfloor temperature does not drop below 10°C.
2.4 Subfloor Conditions: Ensure that the subfloor complies with DIN 18365. The subfloor must be stable, flat, clean, solid, and completely dry. The maximum tolerance for subfloor irregularities is 2 mm per linear meter, as per DIN 18202.
2.5 Removal of Old Flooring: Be sure to remove any old flooring before proceeding with installation.
- Installation Process: Proper installation is essential for the durability and aesthetics of your vinyl flooring. Follow these steps carefully:
3.1 Installation Direction: When fitting the panels, place the “groove” side facing the wall. Maintain a minimum distance of 30cm between the tops of the planks and ensure that the last row is at least half the width of a plank. Install the planks perpendicular to the main light source.
3.2 Expansion Joints: Use appropriate spacers to ensure a continuous joint of at least 5mm throughout the entire application.a uma distância de pelo menos 5mm de objetos fixos, como tubos e batentes de portas.
3.3 Use of Silicone: In exceptional circumstances, such as humid spaces (bathrooms and kitchens), use silicone. Joints at the edges of humid areas can be filled to prevent water infiltration. Door expansion joints can be filled with silicone using anti-infiltration tape.
3.4 Profiles and Expansion Joints: Areas larger than 150m2 or with obstacles and at room transitions should consider using expansion joints of at least 5mm. When installing skirting boards or finishing profiles, do not connect them to the floor.
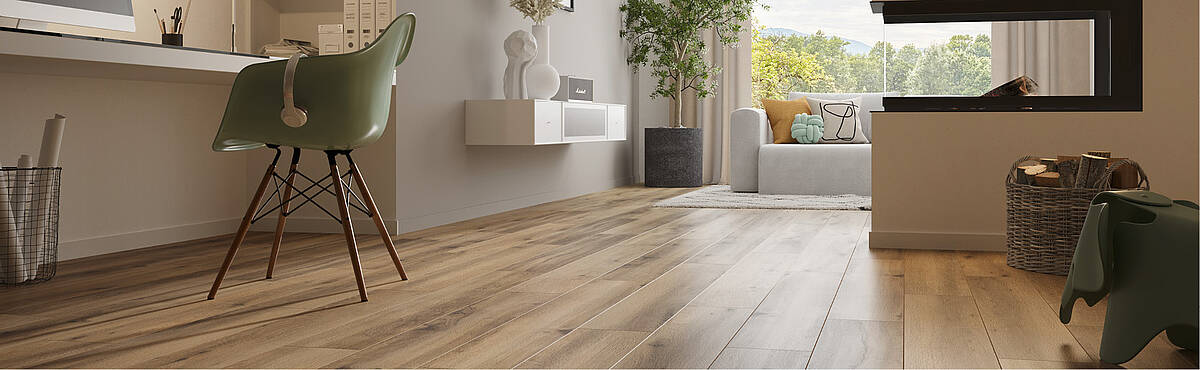
- Cleaning and Maintenance:
After installation, clean the entire floor. Use a vacuum cleaner or a damp cloth with mild detergent. Avoid substances that can cause stains. Do not use harsh solvents or polishes. Following these installation guidelines will ensure that your vinyl flooring is installed successfully and maintains its beauty and durability over time. Remember to always follow the manufacturer’s recommendations and consider hiring a professional if necessary to get the best possible results.